
For all that is being said about soy and its negative counter parts, this grain still remains widely used and does find its way into numerous foodstuffs, mainly processed ones. While most soy nowadays is GMO (Genetically Modified), in Europe luckily we do have some organic non-GMO grains available. That said, for my part, I still do try to limit consumption of soy to once or twice a week. I consume soy mostly in the form of tofu, miso and tempeh. The latter two being the most popular. Of soymilk, I have brought consumption of it to a complete halt, oatmilk being now my major non-dairy substitute.
The idea of homemade tempeh came from one of our discussions in the Vegan Temptivists group on Facebook and was suggested by Susmitha from Veganosaurus. Feel free to join us in this group by the way (but please do read the group requirements first). Until now, I’ve only been buying tempeh at the health store. Some research on homemade tempeh however, inspired me further into attempting this at home.
Tempeh is a fermentation process of cooked soybeans with Rhizops moulds (the tempeh starter). This fermentation binds the soybeans into a compact white cake. A search on where to get a supplier for the tempeh starter brought me to a few sites of which I found this one to be the most convenient for me. They infact also supply a free sample (with 2,00 EUR administration and shipping fee) to get you started. So, I ordered the free sample to try it off. Since this was my first time making tempeh at home I literally followed the recipe they supply on their website.
Their recipe is as follows.
How To Make Tempeh*
*Update: Check out my updated and easier less laborious method [with video] for making tempeh here.
Ingredients
600g whole dry soybeans (I used only 500g however)
5 tablespoons vinegar
1 teaspoon (about 5g) tempeh starter
Soaking and Dehulling
The recipe says to crack the beans first but since I don’t have a grain mill, I just omitted this step and proceeded straight onto soaking the grains for 12 hours. I then dehulled them by hand, rubbing the beans together and sometimes individually pressing the hulls off the grains. I must say, this was quite a lengthy process and did requite a bit of patience when done by hand.
Cooking the Beans
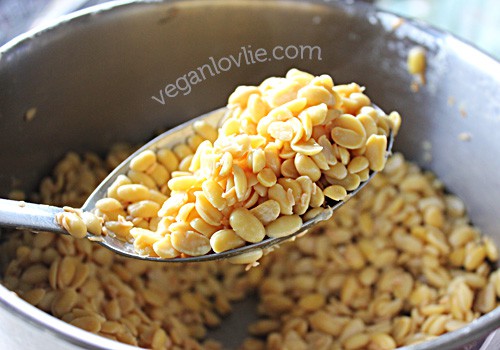
After dehulling, I proceeded to boiling the beans. The recipe suggests half an hour but I boiled them for twice as long since the beans were nowhere soft after just 30 minutes. Even after an hour, they could still do with a bit more boiling. I didn’t boil any further because I thought the fermentation process might soften the beans but it didn’t. So, if you are attempting this, make sure the beans are boiled to the softness you would usually consume them.
So, as per the recipe, put the beans in a cooking pot and add enough water to cover them. Add the vinegar and cook for 30 min (or until soft but not mushy). Drain off the water and dry the soybeans by continue heating them in the pot on medium heat for a few minutes and until the beans are dry. Allow the soybeans to cool down to below 35°Celsius.
Mixing with the Tempeh Starter
Sprinkle the soybeans with 1 teaspoon of tempeh starter. Mix well and evenly with a clean spoon for about 1 minute. It’s very important to mix the tempeh starter very well: it reduces the risk of spoilage and the fermetation will be faster.
Incubating the Beans
The beans are incubated in plastic bags and it is important to perforate them so that the mould can breathe. I used 3 plastic bags about 21 X 25 cm and perforated them with a metal skewer ( a normal pin / needle is too thin, you can also use a clean nail).
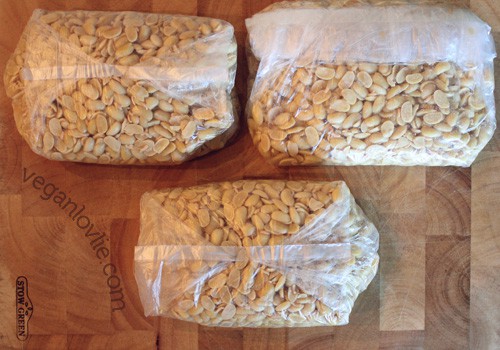
Portion out the soybeans in the three bags and seal them (I used cellotape).
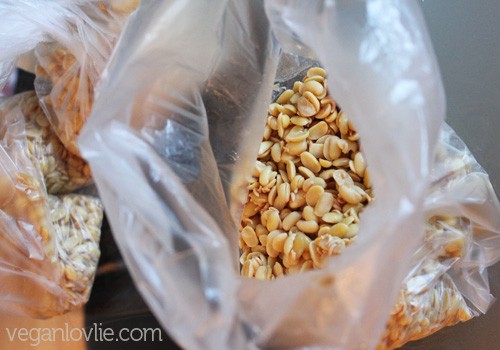
Press them flat, making sure that the total thickness of the beans is max 3 cm (about 1-inch).
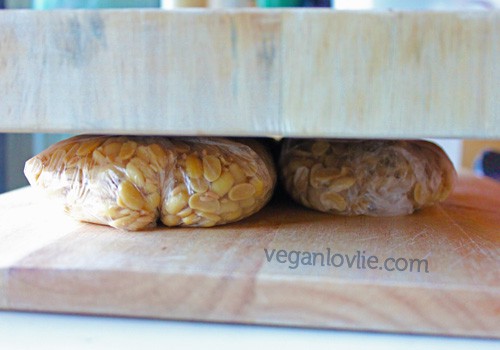
I sandwiched the bags between two wooden boards and placed the packed beans in a warm place (I left them close to the radiator. You can also use an incubator at 30°C if you have one) for about 36 – 48 hours during which the tempeh fermentation takes place.
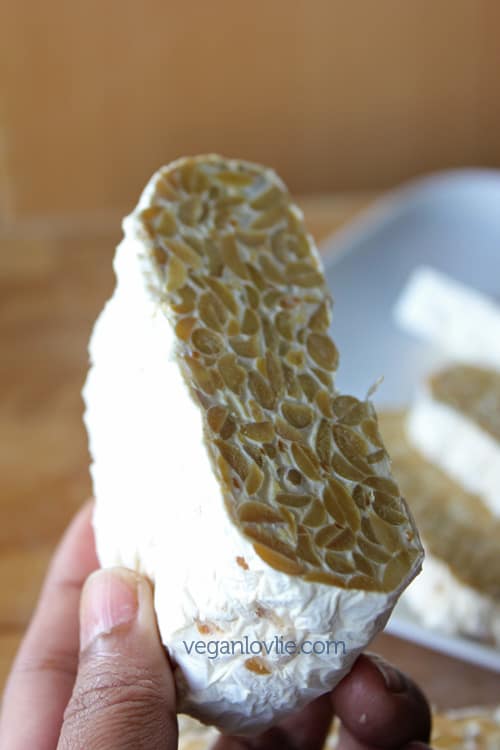
Then the container should be filled completely with white mycelium and the entire contents can be lifted as a whole piece. Mine took 36 hours to be completely fermented.
Storing the Tempeh
I froze two of the bags for later use. Tempeh will keep well in the refrigerator for 2 days.
Cooking the Tempeh
After fermentation, I decided to cook one portion straightaway. I sliced the tempeh cake.
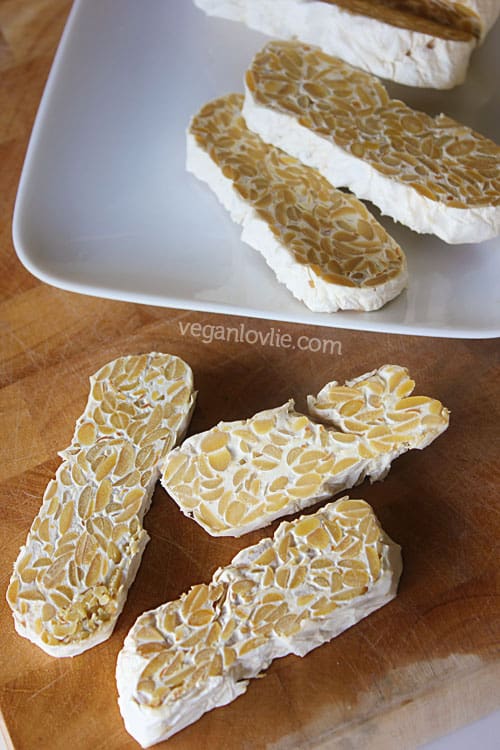
The result was very pleasing but as I said before, the beans still remained a touch too hard. So, I decided to steam the tempeh first.
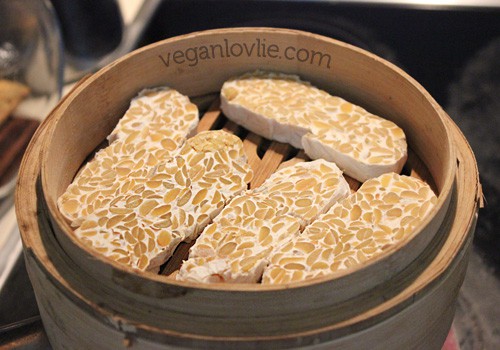
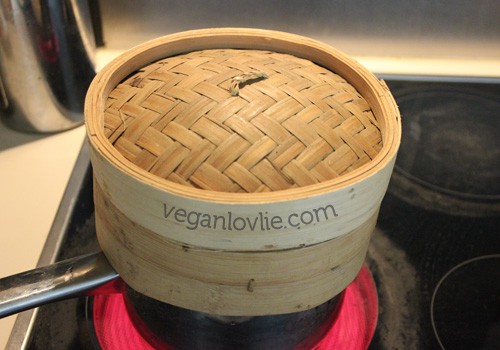
After steaming, I pan fried with only a drizzle of vegetable oil.
I made an easy cranberry soy sauce as follows:
1 tablespoon cranberry preserve / jam / sauce
1 tablespoon shoyu soy sauce
1/2 tablespoon mirin (or rice vinegar), adjust to taste
1 tablespoon maple syrup
Dash paprika or cayenne pepper
Salt to taste
Mix all ingredients and bring to a gentle heat in a pan.
Arrange fried tempeh on a bed of steamed vegetables and salad. Drizzle with the cranberry soy sauce to serve.
If you are looking for other tasty ways to use tempeh in recipes, check out The Tempeh Cookbook.
Recipe suggestion with Tempeh
JOIN THE CONVERSATION on FACEBOOK


That looks amazing. Was the end result really worth the effort?
YES so much lighter and more flavorful than the compressed vacuum packed kind you get in the store. Not complicated to make. I have made it for years. All hulls do not have to be removed, just broken.
Yes, very much. I'm going to make a second batch soon. The only tedious part was to remove the pulp, the rest is okay, I pretty much boil beans (instead of using canned ones) anyway. I'm gonna try and see if I can obtain some hulled beans, would be a lot easier.
Wow! It looks much easier than I thought, and quicker than I thought too! There's something very similar to tempeh in Korea called "meju," and from what i knnow, it takes months to be fully fermented. Thanks for the post!
now that is LOVELY!!!!
The tempeh looks so pretty when it is done… and the dish you made with it looks DELISH! 🙂
wow amazing. It is perfect !! I am happy to know how to make some home made tempeh!! Great post
I finally got my tempeh starter. Really looking forward to trying it! Have you tried making other varieties of tempeh with the starter? Like brown rice for example?<br /><br />Also, have you used an older batch of tempeh as the starter for the next batch?
Hey Susmitha, hope you are doing well. I've been so taken by a lot of things recently, been away from this blog for so long now. Glad you got your tempeh kit. I haven't tried other varieties of tempeh but I was thinking of trying with chickpeas and other beans.<br /><br />I haven't tried using a older batch as the starter either. I froze the batch straightaway. I found it a little
Thanks for the wonderful instructions. I ended up with some black stuffs in the upper part, while the lower part is fully covered with white stuffs. However, the black stuffs I could remove by scratching with a spoon/knife. I have now two questions:<br />a) How to get rid of forming this black stuff?<br />b) can I still eat Tempeh once I scratched out the black stuff? <br /><br />Thanks<br />Khem
Hi Khem,<br />Thanks for your comment. To answer your questions:<br />(a) The black stuff is due to the type of mold you are using. There are different grades. If you use a Grade A mold, it doesn't form the black stuff.<br />Sometimes black stuffs also form when the tempeh is overripe. So maybe reduce the fermentation time.<br />(b) It is perfectly fine to consume the black stuff. It is due
Very nice,thanks.<br />Where can I buy tempeh starter? I am in Spain.Please help.
Hi Sean, <br />You can get the tempeh starter from this website:<br />http://www.tempeh.info/<br /><br />They ship worldwide.<br />
My nana manually removed all the hull by hand. She usually made it in huge batch to sell them, so it's a gruesome process. If you want it to be little easier,press them on vegetable strainer under running water. My nana doesn't use incubator and plastic bag. She used newspaper lined with banana leaves, fold and tie them together. Cover them in the a blanket. Homemade incubator!<br />But
I can imagine that banana leaves would give tempeh a nice fragrance too. I sometimes see some banana leaves at the Asia store. I might pick some up next time and use that instead of plastic bags, it will be a lot more eco-friendly too. Thanks for the tip. 🙂
Your homemade tempeh looks great! I'm kind of scared when working with mold and fermenting food, but this recipe looks very easy and clear to follow. I pinned it for later. 🙂
Great post and photos on how to make tempeh!
I'm selling original tempeh starter from Indonesia. If you are interested check out my ebay http://www.ebay.com.au/itm/Tempeh-Starter-Tempeh-Culture-500grams-/221702536148?pt=LH_DefaultDomain_15&hash=item339e803bd4
If you want to buy direct you can email me: elmoy11@gmail.com
cheers!
Tempeh Man
Just started making mine from the okara left after making tofu. So very good.
Hi;
I am allergic to dry beans. Do you have any recipes to make soy-free tempeh using canned beans? Thank you!
I haven't tried with canned beans but I know there are chickpea and yellow split pea tempeh out there. So you might want to give it a try. You will need to peel the skin off the chickpeas and warm them a little before mixing in the tempeh starter. But like I said I haven't tried this for myself though.