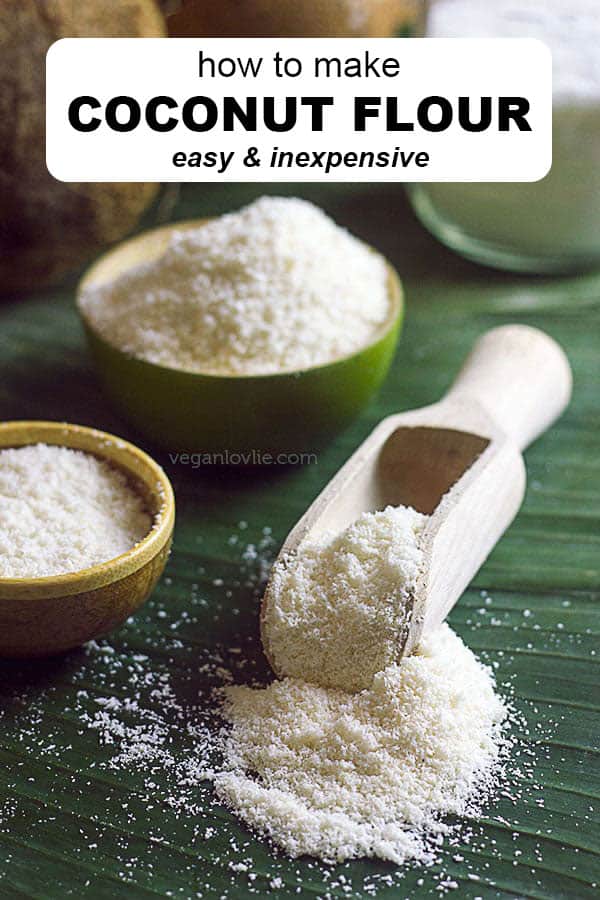
An affordable (if not free!) and simple process of making homemade coconut flour which is a natural byproduct of homemade coconut milk. Coconut flour is a gluten-free and grain-free flour that can be used in a number of baked goods and other coconut flour recipes.
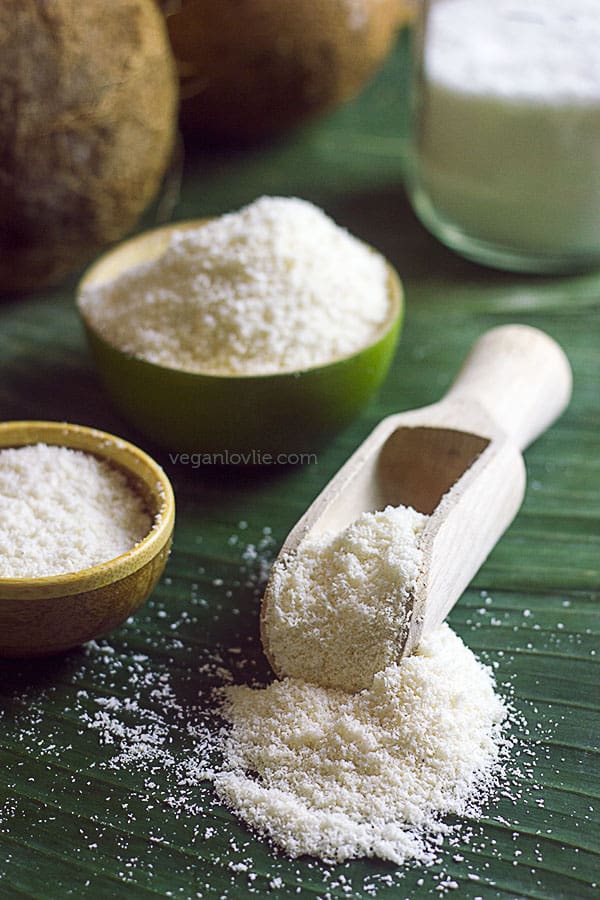
It’s a staple at the Lovlie Cocoon — coconut. Whether as desiccated flakes or mature hard shell, this drupe find its way in so many of my recipes, from macaroons to cakes and not forgetting the savoury preparations like chutneys. Very often, the fresh mature flesh are just a treat for an anytime snack. A week doesn’t go by without a hard shell coconut is being smashed open with a hammer. The hammer is basically just one of our kitchen utensils!
The easy process of how to make homemade coconut milk is reason enough, cost-wise and taste-wise, to adopt and love it. Added to these is coconut flour that comes out as a natural by-product of this delicious plant-based milk preparation.
Classified as a specialty gluten-free and grain-free flour, coconut flour is probably one of the most expensive flours on the shelves. However, the homemade version is more than just cost effective; it’s practically free after the milk has been extracted. Making coconut milk at home is simple enough; the process for making coconut flour is even simpler — more than a win-win situation.
With the demand for gluten-free alternatives on the rise, coconut flour is becoming a well sought-after ingredient in many recipes. However, it can equally be used in many non-gluten-free preparations too. High in fibre, coconut flour is very filling and provides a good source of protein. Low in carbohydrates, it is also naturally sweet with a low score on the glycemic index. Coconut flour makes an ideal baking ingredient as you won’t require as much additional sweetener.
With a handy supply of homemade coconut flour in your pantry, it won’t be long until you start falling in love with the beautiful buttery aroma that it lends to baked goods. Substituting part of your traditional flours with coconut flour makes a good way to start incorporating this lovely flour into a recipe.
Coconut flour does have the characteristic of absorbing a lot of liquid though. So, you will probably find that most recipes that call for coconut flour also call for much more liquids. Plus, it will also require a binder if used in baked preparations. Coconut flour works well in easier concoction like pancakes, burgers or even as a gluten-free alternative to breadcrumbs for coating.
Specific recipes with coconut flour will be coming up soon on the blog and channel. In the meantime, for the love of coconut, you may like these recipes from the blog.
Recipes featuring coconut from the blog:
Burger Buns with Turmeric and Coconut
Like I mentioned, coconut flour is a very easy process. After extracting as much milk as possible from the coconut, the leftover pulp is what is used to make the flour. Basically, all the moisture has to be evaporated from the wet pulp first. There is namely three (or four) ways in which this can be achieved:
- bake at the lowest temperature in the oven for 3 – 4 hours
- leave the pulp to air dry overnight or for 24 hours (depending on humidity and room temperature)
- place in a dehydrator overnight
- pan drying on low heat
I personally prefer the latter as it is quicker and can be done even during the warmer months of the year without having to turn the oven on for hours or watching for bugs getting in the coconut with the air dry method. But also because it lends a slightly roasted aroma to the flour which add another layer of flavour in the preparations when used.
Can coconut flour be made directly from desiccated flakes?
You might be curious as to whether you can make coconut flour from the desiccated flakes without extracting the milk from it first. Due to the high fat content in the coconut, when blending it at high speed, the flakes will turn to coconut butter. So, extracting the milk first as I have demonstrated before is a prerequisite in making homemade coconut flour.
How to Make Coconut Flour
Tip: I like to save the coconut pulp obtained from each batch of coconut milk and freeze it until I have a certain quantity. Then I can make a larger amount of coconut flour at a time.
Watch the video tutorial for the easy process.
Oven Method
Spread the coconut pulp (collected after extracting the coconut milk) on a baking sheet lined with parchment paper. Break any big clumps and spread the pulp evenly on the tray. Place in the oven at the lowest temperature setting and bake for 3 to 4 hours (depending on temperature) until the pulp is completely dry. Allow to cool. Then add to a blender and process to a fine powder. Store in a airtight jar or container and use within 3 months or refrigerate to keep fresh for longer.
Pan Drying Method
Place the coconut pulp in a skillet on low heat. Once evaporation starts (water vapour will start to rise from the pulp), stir occasionally while increasing the stirring frequency as the pulp starts to dry up more and more. When almost dry, the pulp will change colour to a slight beige. Remove from the heat. Allow to cool. Then add to a blender and process to a fine powder. Store in a airtight jar or container and use within 3 months or refrigerate to keep fresh for longer.
How to Make Homemade Coconut Flour

An affordable (if not free!) and simple process of making homemade coconut flour which is a natural byproduct of homemade coconut milk. Coconut flour is a gluten-free and grain-free flour that can be used in a number of baked goods and other coconut flour recipes.
Ingredients
- Coconut pulp, obtained from making coconut milk, see notes
Instructions
Oven Method
- Spread the coconut pulp (collected after extracting the coconut milk) on a baking sheet lined with parchment paper.
- Break any big clumps and spread the pulp evenly on the tray.
- Place in the oven at the lowest temperature setting and bake for 3 to 4 hours (depending on temperature) until the pulp is completely dry. Allow to cool.
- Then add to a blender and process to a fine powder.
- Store in a airtight jar or container and use within 3 months or refrigerate to keep fresh for longer.
Pan Drying Method
- Place the coconut pulp in a skillet on low heat.
- Once evaporation starts (water vapour will start to rise from the pulp), stir occasionally while increasing the stirring frequency as the pulp starts to dry up more and more.
- When almost dry, the pulp will change colour to a slight beige.
- Remove from the heat. Allow to cool. Then add to a blender and process to a fine powder.
- Store in a airtight jar or container and use within 3 months or refrigerate to keep fresh for longer.
Notes
To obtain coconut pulp, the milk needs to be extracted from the coconut flakes first.
To do this, follow the instructions on How to Make Coconut Milk (https://veganlovlie.com/homemade-coconut-milk-vegan-non-dairy/). Then use the pulp to make Coconut Flour.
Link to How to Make Coconut Flour -
(https://veganlovlie.com/howto-make-coconut-flour-easy-video/)
Love these Pumpkin recipes? Pin it for later.
And while you’re on Pinterest, come follow and pin along with us.
Hi, Stumbled across your site while searching for a vegan orange cake and once again ‘stumbled’ across your wonderful message in the video for chocolate pumpkin cake. Will definitely be coming back for more. Had no idea making coconut flour was so simple! My daughter drinks coffee in coconut milk and issue it for cooking also, and all this time I have been throwing away the fibre after extracting the Coconut milk… Not any more. Thank you so much for sharing. May God bless your efforts…